HTML/CSS Branding
To reinforce your own brand across your website or web application, you may want to display your custom logo, watermark or other branded elements over Xweather Mapps imagery. The simplest method is using HTML and CSS to overlay additional branded elements over the top of your Xweather Raster Maps graphics.
Adding Image Branding
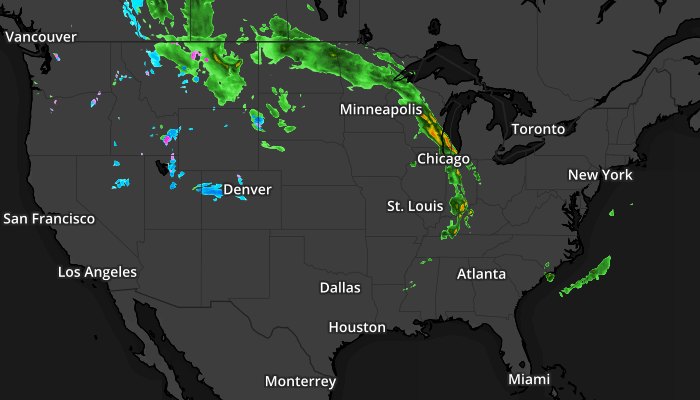
With a little additional HTML and CSS, you can easily overlay your own logo or watermark on top of your weather maps. In this first example, the logo is added to an <img> tag directly on top of the map:
<style>
.map-container {
    position: relative;
    display: inline-block;
}
.map-watermark {
    position: absolute;
    bottom: 5px;
    right: 5px;
}
</style>

<div class="map-container">
    <img src="http://maps.api.xweather.com/CLIENTID_CLIENTSECRET/flat-dk,radar,cities-dk/700x400/39,-96,4/current.png"/>
    <div class="map-watermark">
        <img style="height: 30px; opacity: 50%" src="https://www.xweather.com/assets/logos/vaisala-xweather-logo-light.png" />
    </div>
</div>
![]()
The downside to this approach is that you have to repeat the same <img> tag for each instance of your weather map, so if the URL to your logo or watermark changes, each <img> tag must also be updated. An alternative approach is to simply use a background image via CSS to set the logo or watermark to use:
<style>
.map-container {
    position: relative;
    display: inline-block;
}
.map-watermark {
    position: absolute;
    bottom: 0px;
    right: 10px;
    width: 92px;
    height: 46px;
    opacity: 50%;
    background: url(https://www.xweather.com/assets/logos/vaisala-xweather-logo-light.png) no-repeat 0 0;
    background-size: 100%;
}
</style>

<div class="map-container">
    <img src="http://maps.api.xweather.com/CLIENTID_CLIENTSECRET/flat-dk,radar,cities-dk/700x400/39,-96,4/current.png"/>
    <div class="map-watermark"></div>
</div>
Adding HTML/Text Branding
Similar to overlaying an image, HTML and/or text can be overlaid:
<style>
.map-container {
    position: relative;
    display: inline-block;
}
.map-branding {
    position: absolute;
    bottom: 5px;
    right: 5px;
    font-family: "Helvetica","Arial",sans-serif;
    text-size: 18px;
    color: rgba(255,255,255,0.3);
}
</style>

<div class="map-container">
    <img src="http://maps.api.xweather.com/CLIENTID_CLIENTSECRET/flat-dk,radar,cities-dk/700x400/39,-96,4/current.png"/>
    <div class="map-branding">My Brand Text</div>
</div>
My Brand Text
Adding a Title Bar
Sometimes displaying a title bar on your map is useful to provide information regarding the data being presented. Using a method similar to that of the HTML/text branding, we can easily add a custom title bar as well:
<style>
.map-container {
    position: relative;
    display: inline-block;
    font-family: "Helvetica","Arial",sans-serif;
}
.map-watermark {
    position: absolute;
    bottom: 0px;
    right: 10px;
    width: 92px;
    height: 46px;
    opacity: 50%;
    background: url(https://www.xweather.com/assets/logos/vaisala-xweather-logo-light.png) no-repeat 0 0;
    background-size: 100%;
}
.map-title {
    position: absolute;
    top: 10px;
    left: 10px;
    font-size: 18px;
    font-weight: bold;
    color: #222;
    width: 40%;
    background: rgba(255,255,255,0.60);
    border-bottom: 3px solid #0097e2;
    padding: 3px 0 3px 10px;
}
</style>

<div class="map-container">
    <img src="http://maps.api.xweather.com/CLIENTID_CLIENTSECRET/flat-dk,radar,cities-dk/700x400/39,-96,4/current.png"/>
    <div class="map-watermark"></div>
    <div class="map-title">Current Radar</div>
</div>
![]()
Current Radar