Weather Layers
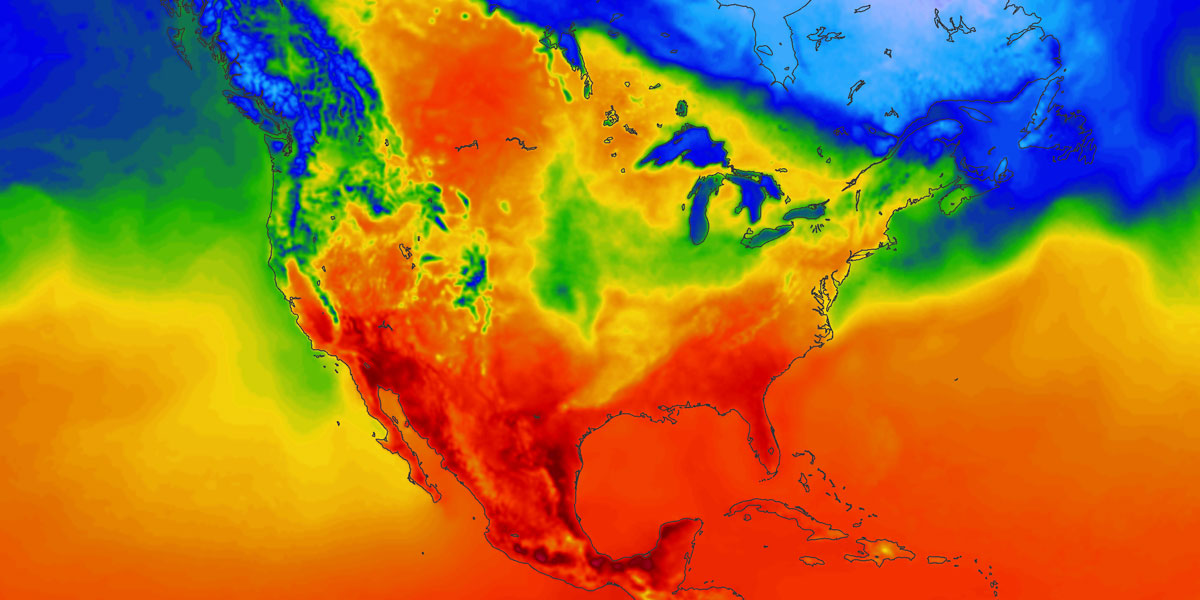
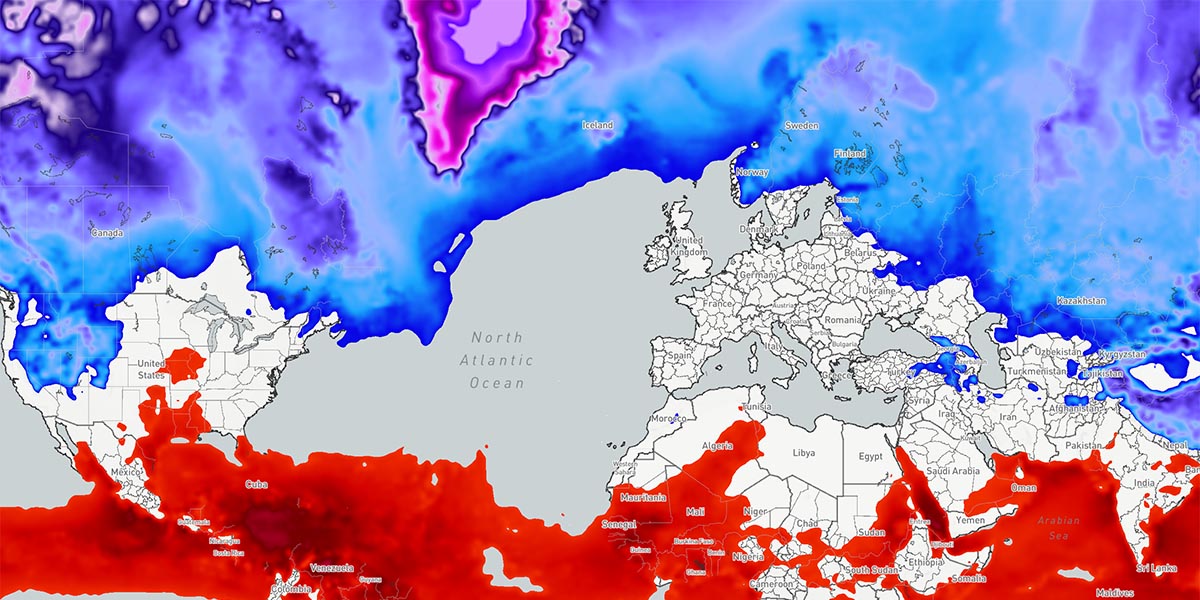
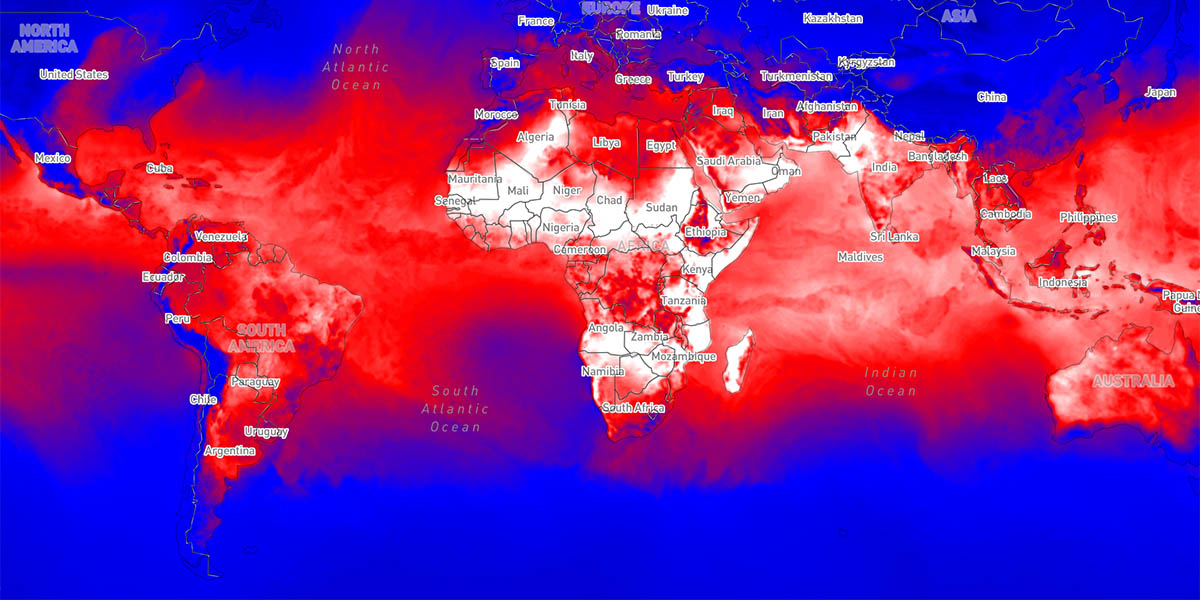
The AerisWeather MapsGL SDK includes a variety of pre-configured and pre-styled weather layers for you to include in your maps, such as temperature, humidity and heat index. Additionally, you have complete control over their styling and can fully customize them for your needs.
Built-in weather layers are referenced by their weather layer code. Refer to our list of supported weather layers (opens in a new tab) and their codes when using them within the MapsGL SDK.
Adding Weather Layers
To add a weather layer to your map, just use the addWeatherLayer(code: string) method on your map controller instance:
mapController.addWeatherLayer(WeatherService.Temperatures(mapController.service))
It's also easy to add multiple weather layers at once:
// adding each layer code separately
mapController.addWeatherLayer(WeatherService.HeatIndex(mapController.service))
mapController.addWeatherLayer(WeatherService.WindChill(mapController.service))

// or iterating an array of weather layer codes
val services = listOf(
    WeatherService.HeatIndex(mapController.service),
    WeatherService.WindChill(mapController.service)
)

services.forEach { code ->
    mapController.addWeatherLayer(code)
}
Using this simple method will use the default styling and configuration for each layer provided by the SDK. However, since layers are fully customizable with MapsGL, you may decide you want to change the visual appearance of one or more weather layer when adding it to your map.
Getting Active Weather Layers
Weather layers are given a unique layer identifier internally when added to a map that takes into account any customizations that may have been provided. Therefore, you cannot use getLayer(:id) to retrieve a weather layer using its weather layer code (opens in a new tab). Instead, use the getWeatherLayer(:code) method to retrieve a weather layer by its weather layer code:
val temperaturesLayer = mapController.getWeatherLayer("temperatures")If the layer already exists on the map, the above will return the existing layer instance which you can then use to get additional information about the layer itself, such as its generated unique identifier to use when adding another layer relative to its position in the layer stack:
val tempLayerId = temperaturesLayer?.id
mapController.addWeatherLayer(WeatherService.WindParticles(mapController.service), null, tempLayerId)
Removing Weather Layers
Removing weather layers from the map is similar to adding them. To remove a weather layer from your map, just use removeWeatherLayer():
val tempLayerId = temperaturesLayer?.id
mapController.removeWeatherLayer(temperaturesLayer?.id)
Overriding Defaults
While we have provided some default styling for built-in weather layers, you may want to fully customize them to fit the identity and style of your application or to tell a different story with the same data. Our weather layers are fully customizable simply by providing your desired configuration overrides.
You can override the default configuration for weather layers by using the paint property of the layer.
Raster Layers
// Raster Layer
mapController.addWeatherLayer(
    WeatherService.Satellite(mapController.service).apply {
        with(layer.paint as RasterStyle) {
            opacity = 1.0f
        }
    }
)| Option | Description | Default |
|---|---|---|
paint | Type: RasterPaint ()Holds the settings for customizing the layer. | |
quality | Type: DataQuality ()Defines the level-of-detail (LOD) for the rendered data. | NORMAL |
opacity | Type: Float ()Defines visibility of a layer on a scale of 0f to 1f. | 1f |
Sample Layers
// Sample Layer
mapController.addWeatherLayer(
    WeatherService.Temperatures(mapController.service).apply {
        with(layer.paint as SampleStyle) {
            opacity = 1.0f
        }
    }
)| Option | Description | Default |
|---|---|---|
paint | Type: SamplePaint ()Holds the settings for customizing the layer. | |
quality | Type: DataQuality ()Defines the level-of-detail (LOD) for the rendered data. | NORMAL |
opacity | Type: Float ()Defines visibility of a layer on a scale of 0f to 1f. | 1f |
Particle Layers
// Particle Layer
mapController.addWeatherLayer(
    WeatherService.WindParticles(mapController.service).apply {
        with(layer.paint as ParticleStyle) {
            opacity = 1.0f
            density = ParticleDensity.NORMAL
            speedFactor = 1f
            trails = true
            trailsFadeFactor = ParticleTrailLength.NORMAL
            size = 2.0f
        }
    }
) | Option | Description | Default |
|---|---|---|
paint | Type: ParticlePaint ()Holds the settings for customizing the layer. | |
quality | Type: DataQuality ()Defines the level-of-detail (LOD) for the rendered data. | NORMAL |
opacity | Type: Float ()Defines visibility of a layer on a scale of 0f to 1f. | 1f |
density | Type: ParticleDensity ()Determines how many particles to draw. Options are: MINIMAL, LOW , NORMAL, HIGH, EXTREME. | NORMAL |
speedFactor | Type: Float ()Defines visibility of a layer on a scale of 0f to 1f. | 1f |
trails | Type: Boolean ()Enables or disables translucent trails behind particles | true |
trailsFadeFactor | Type: Float ()Determines the rate at which trails fade on a scale from 0f to 1f. Higher numbers give longer trails. | .97f |
size | Type: Float ()The size of the individual particles. | 2f |
Custom Color Stops
While we have provided default colors for built-in weather layers, you may choose your own custom colors.
// Custom colors

val colorStops: List<ColorStop> = listOf(
    // The first value is temperature in degrees Celcius
    // The color values are red, green, blue, alpha
    ColorStop(-62.22, Color(0.0f, 0.0f, 0.0f, 1.0f)),
    ColorStop(12.11, Color(0.0f, 0.0f, 1.0f, 1.0f)),
    ColorStop(26.00, Color(1.0f, 0.0f, 0.0f, 1.0f)),
    ColorStop(34.44, Color(1.0f, 1.0f, 1.0f, 1.0f)),
)

mapController.addWeatherLayer(
    WeatherService.Temperatures(mapController.service).apply {
        with(layer.paint as SampleStyle) {
            opacity = 1.0f
            colorScale.stops = customColors
        }
    }
)
Refer to our weather layer styling (opens in a new tab) documentation for more details and examples on overriding default weather layers styles.